USER GUIDE
Contents
EXAMINER’S GUIDE
CREATING A QUESTION PAPER
-
The question paper can be created using any document editor, ensuring there is only one question per page which can be a text or an image.
-
The standard page size description to avoid scrolling and fit the view in the exam is International A5 in Landscape. You can have pages of any size, but they may need to be scrolled by the students.
-
Have question instructions in the headers of each page that include the question type and the marking scheme.
Export the final document as PDF. Please refer to the manual of the software being used by you for doing the same/ use an online tool.
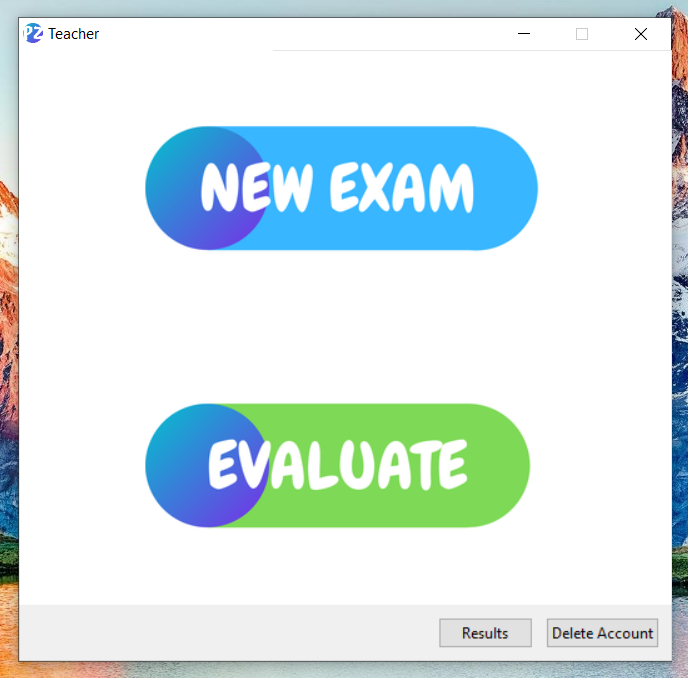
CREATING AN EXAM
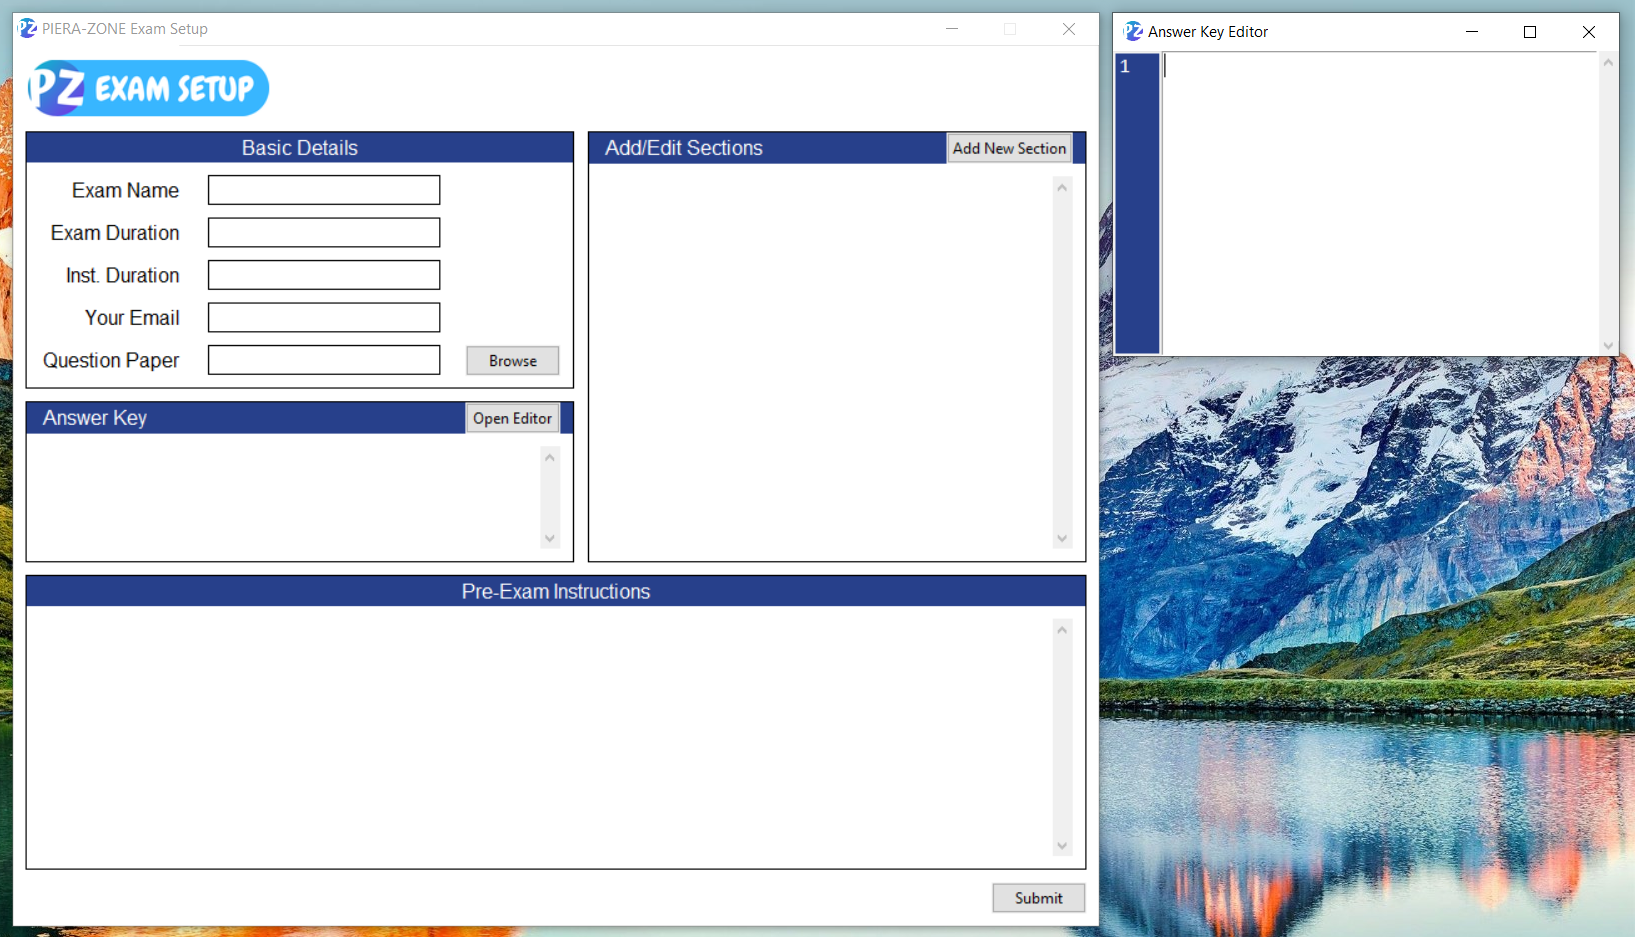
The Exam Setup window has 4 sections as follows:
-
Basic Details:-
Exam name: Must be a unique name given to the exam (unique only in the reference of the past exam(s) created by you, which can be deleted and you can use the same name again). -
Exam Duration: Enter the duration of the exam. Must be in the format ofH(H),M(M),S(S)
Where,
Hindicates hours,Mindicates minutes, andSindicates seconds, the use of,(comma) is mandatory to separate the segments (you can enter a single digit in any segment if so). -
Inst. Duration: Enter the duration of reading instructions before taking up the exam. Must be in the format ofH(H),M(M),S(S)
Where,
Hindicates hours,Mindicates minutes, andSindicates seconds, the use of,(comma) is mandatory to separate the segments (you can enter a single digit in any segment if so). An additional time of 5 minutes will be added to read the instructions from our end to use the software. -
Email: Enter your email to receive email of responses to the same. This is an optional feature and the field can be left blank in case you would like this feature to be turned off. -
Question Paper: Enter the path of the question paper or use theBrowseoption to browse your computer for the same.
-
-
Add/Edit Sections:You must provide at least one section to the exam. To add a section, select the
Add New Sectionbutton or use the keyboard shortcut ofCtrl + w.-
Name: Enter the name of the section. -
Marking Scheme: Enter the the marking scheme of the particular section in the format ofCorrect,Incorrect,Unattempted
Where the names have usual meaning, the use of
,(comma) is mandatory to separate the segments. A-sign (negative) should mandatorily precede marks that are meant to be deducted. -
Starting Question: Enter the starting question of the section. All the proceeding questions will be considered under the same section unless another section is added.
-
-
Answer key:Select the option
Open Editorto open theAnswer Key Editor. Here, the line numbers are the same as the question numbers. Please follow the syntax given below to create the answer key:General format: Options,/Numerical/Text
-
Options: Enter the lower case letters of the options separated by,(comma). -
Numerical/Text: Enter text/numerical value preceded with a/(forward slash). -
Blank key: Enter/<b>to specify the key as the blank key, this will show theCorrect Answer,StatusasN/Aand theScorewould be0during the evaluation and result. -
Global Key: Enter/<b>Marks Key Status</b>, whereMarksare the marks to be given (if marks is to be reduced, enter the marks preceded by-(negative)),Keyis the key, andStatusis the status to be displayed in theCorrect answerandStatusin the result respectively. This feature allows you to make a key that has the same value across all the responses being evaluated irrespective of the response provided by the student for that particular question.
NOTE: You can have a text as a key, but make sure that you ensure in whatsoever way that you specify the right format that the students should follow and manage spellings. [W/A at the end]
-
-
Pre-exam Instructions:Enter the pre-exam instructions. These instructions would be read by the students for the time secified by you, before the commencement of the exam. You have a choice to leave it blank, but we suggest you have minimal instructions that can guide the students for the course of the exam.
Click the Submit button at the lower right corner to complete the setup. A folder containing all the exam details will be created in the main directory of this program, under the folder Exam Setup Files. You may only share the file which is named after the exam and with an extension of .pznx (PZNX File) with the students by any means.
EVALUATING AN EXAM
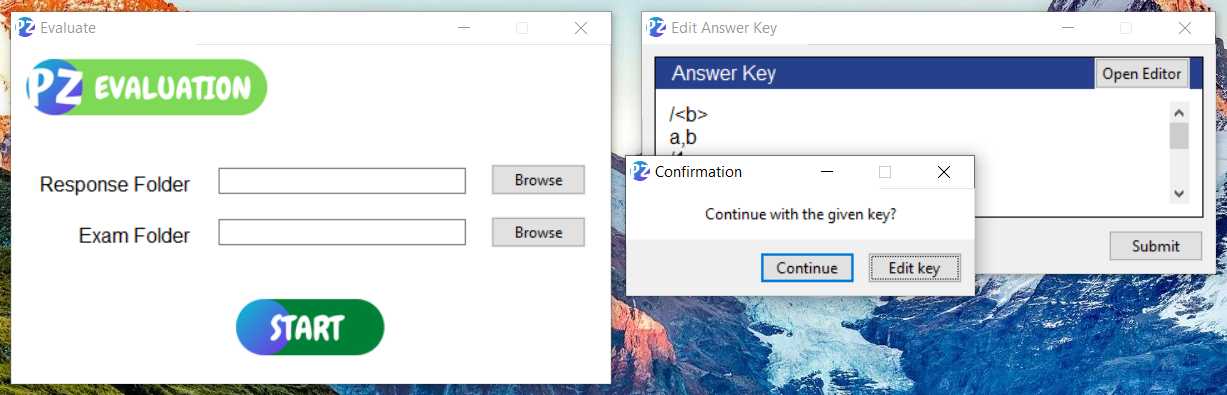
The Evaluation window has the following options:
-
Folder with responses: You must enter the path or use theBrowsebutton to browse your computer (of) for the folder in which you have saved all the responses received. -
Exam Folder: You must enter the path or use theBrowsebutton to browse your computer (of) for the folder which was auto-generated under the exam name during the creation of the exam.
Click the Start button at the bottom of the window to initiate the process. You will be prompted to confirm the key that you have provided, please select the Edit Key option before you continue if you wish to make any changes. The Edit Key window consists of the text editor as in the Exam Setup and has the same features and the same syntax should be followed. After you are done editing, select the Submit button to save the changes made by you. You may now choose the Continue button to process the results.
A window containing a progress bar will open, kindly wait for the process completion after which you will be notified with a message box. There will be a folder named after the exam in the main directory of this program, under the folder Exam Results, containing the results.
ANALYZING RESULTS
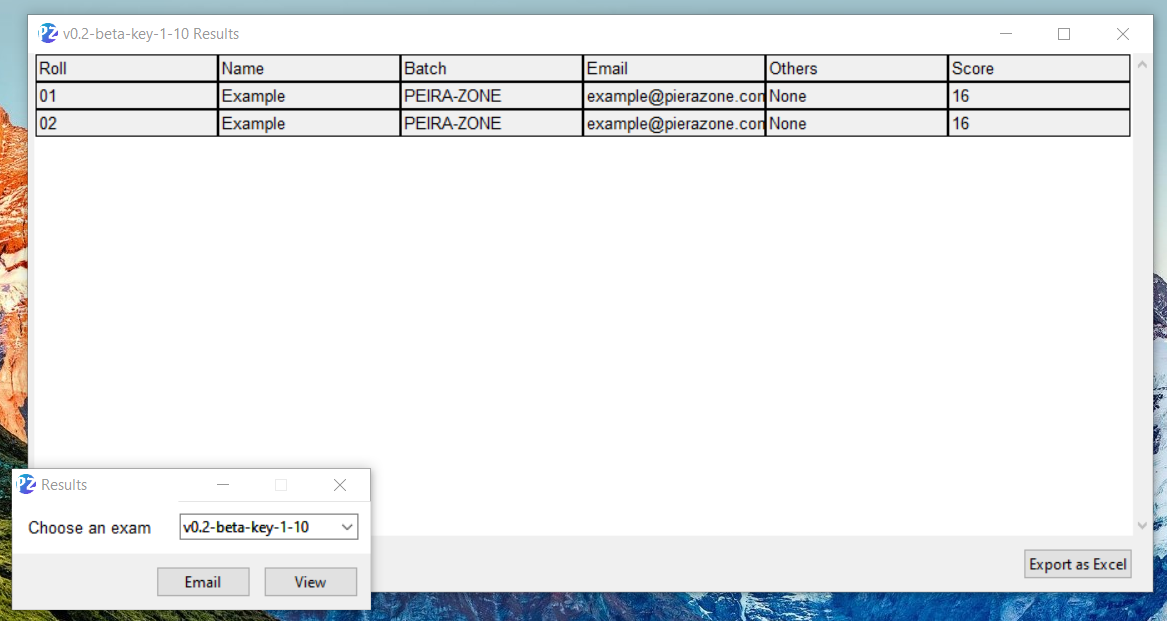
All the results are stored in the form of shareable PDF files to individual candidates at location mentioned in the above section, you may use the inbuilt feature to email them to the students automatically. The results are also tabulated in a database, which can be viewed and exported. You can do so by following the below steps.
On the Teacher window, at the bottom bar please select the Results button. A window with an option to choose the exam will be displayed (only the exams that have been evaluated already). After the selection you have 2 options:
-
View: Displays the result in a tabular form, you may select theExport as Excelbutton to save the data in the form of an excel file. -
Email: Send emails of the individual results to all the students, to the email IDs as given by them before taking up the exam. Please make sure that the directory containing the responses does not have any extraneous files apart from the result PDFs and the auto generated_Emails_text file named after the exam.
NOTE: Export as Excel feature saves the file in the directory containing results, please relocate this before selecting the Email option.
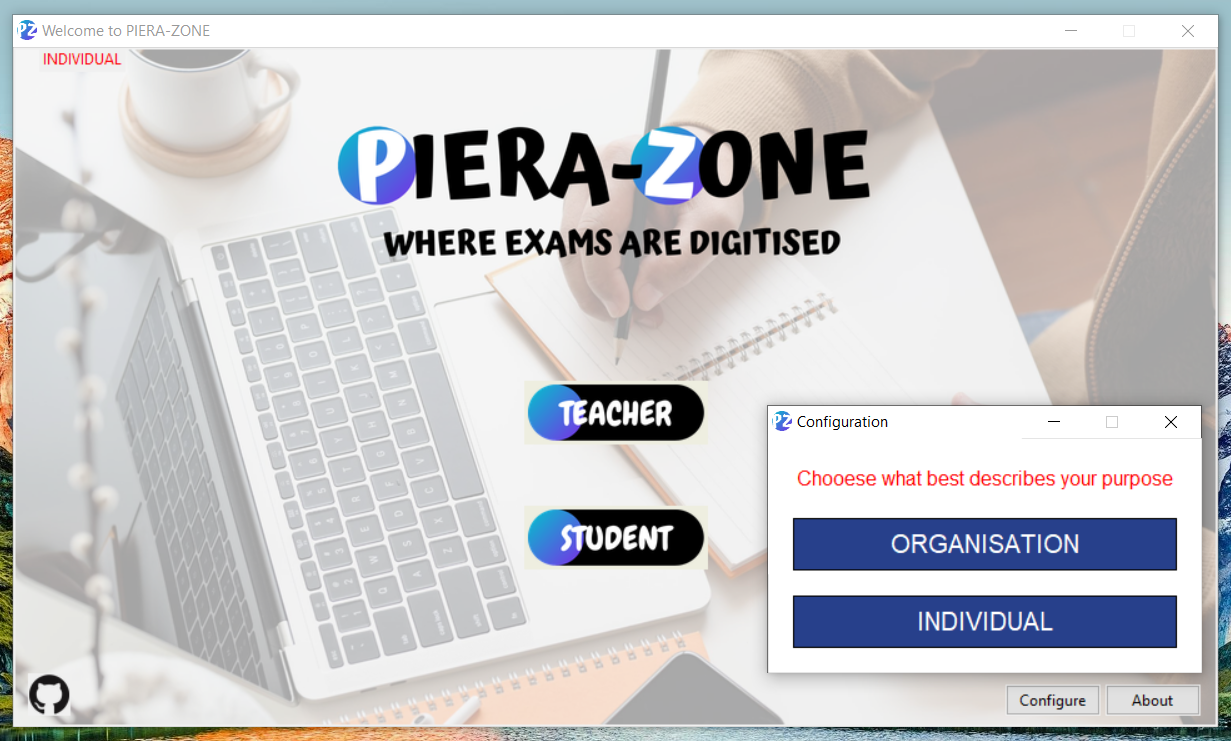
INDIVIDUAL AND ORGANISATION MODE
This can be configured using the Configure button on the bottom right corner of the initial screen. The major difference between the two modes is the option of logging in, if you are using it as an individual it is quite obvious that you will not need the option mentioned earlier, but if you are a simple organisation, having a simple hierarchy this feature could be very useful. Both of the modes use separate databases, and hence this can be used for personal purposes even at the workplace. You will find the “organisation” mode exclusive features in an upcoming section.
ORGANISATION MODE EXCLUSIVE FEATURES
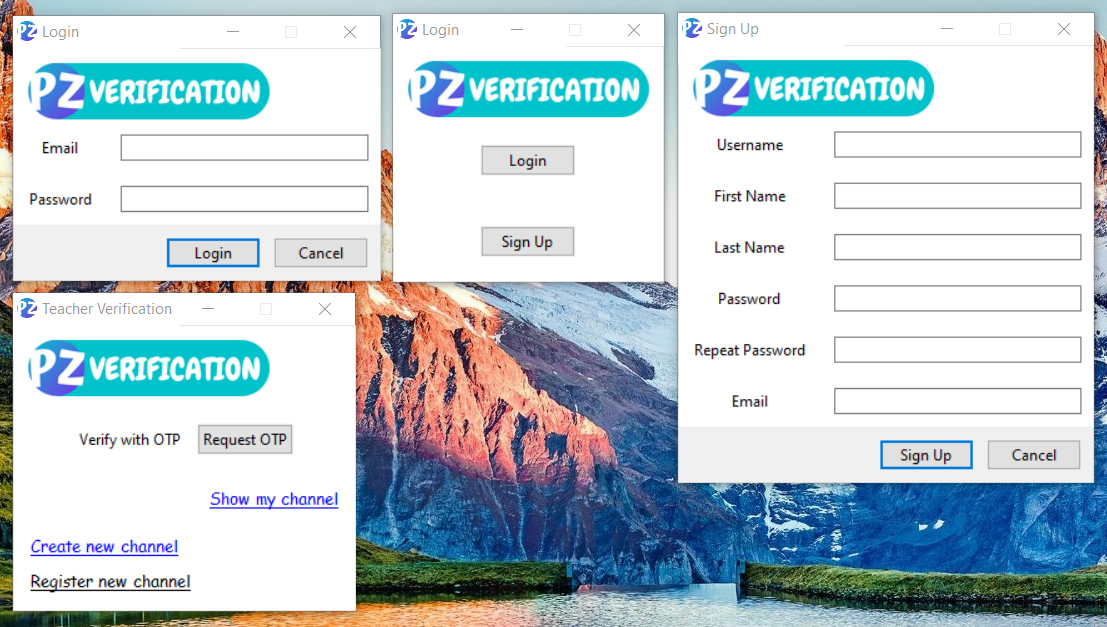
When configured to “organisation” mode, you will be greeted with a login page before you can perform the other actions. The login page has the following options:
-
Login: If you have already created an account, you may use this to login into your account by entering your registered email ID and the password, we offer 2-factor authentication. After this another window with the following options should appear: -
Request OTP: You will need to request an otp to the channel being used and created by the admin. As of now, it is compulsory to pass the OTP verification to continue. -
Show my channel: Use this option to launch the website of the channel in the default web browser. -
Register new channel: Use this option to register a new channel as provided by the admin, by entering the link in the dialogue box that appears. -
Create new channel: To be used only by the admin to create a new OTP channel, the website to create the new channel will open in your default web browser, follow the instructions on the website and after successful creation, you may share the link of the channel with the other users. -
Sign Up: Use this to create a new account by filling the sign up form that appears next, all the entry labels have usual meaning, and a single email ID cannot be used by 2 users.
This system may not be perfect, but it serves the basic purpose. The following details will be logged at the given locations:
-
Log data in Database: A table in the database will contain the user activities log of account creation and deletion, and login. This data can not be seen via our software, you may use a database management tool to view the same.
-
Log data in OTP Channel: OTP requests and, successful and unsuccessful verification of the users.
An account can be deleted by selecting the Delete button at the bottom right corner of the Teacher window, you will be prompted before you continue.
EXAMINEE’S GUIDE
INITIATING AN EXAM
A file with the extension .pznx (PZNX FIle) will be shared to you by the examiner. You will need to have this file on your device and move/save to the My Exams folder found in the main directory of this program. Make sure that there is no other file in that folder apart from the __History__ folder. Head back to the software, and select the Student button and your exam should be initiated.
FILLING OUT BASIC DETAILS
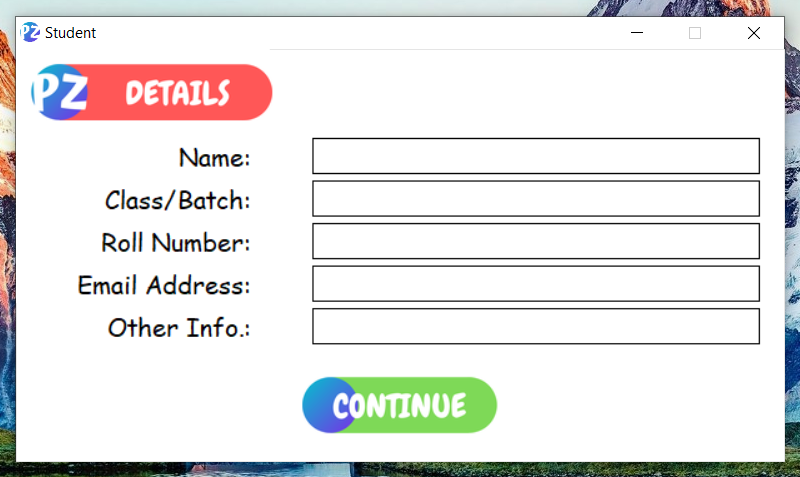
After a successful initiation, a window asking Basic Details will appear. Here you have the following options:
-
Name: Enter your name, the same will be reflected in your results. -
Class/Batch: Enter the class/grade you are in or the batch as instructed by the examiner. -
Roll: Enter your roll number/ID as provided by the examiner. -
Email: Enter your email address, your results will be shared to the same. -
Optional: Enter any other information as instructed by the examiner, you may leave this field blank otherwise.
READING INSTRUCTIONS
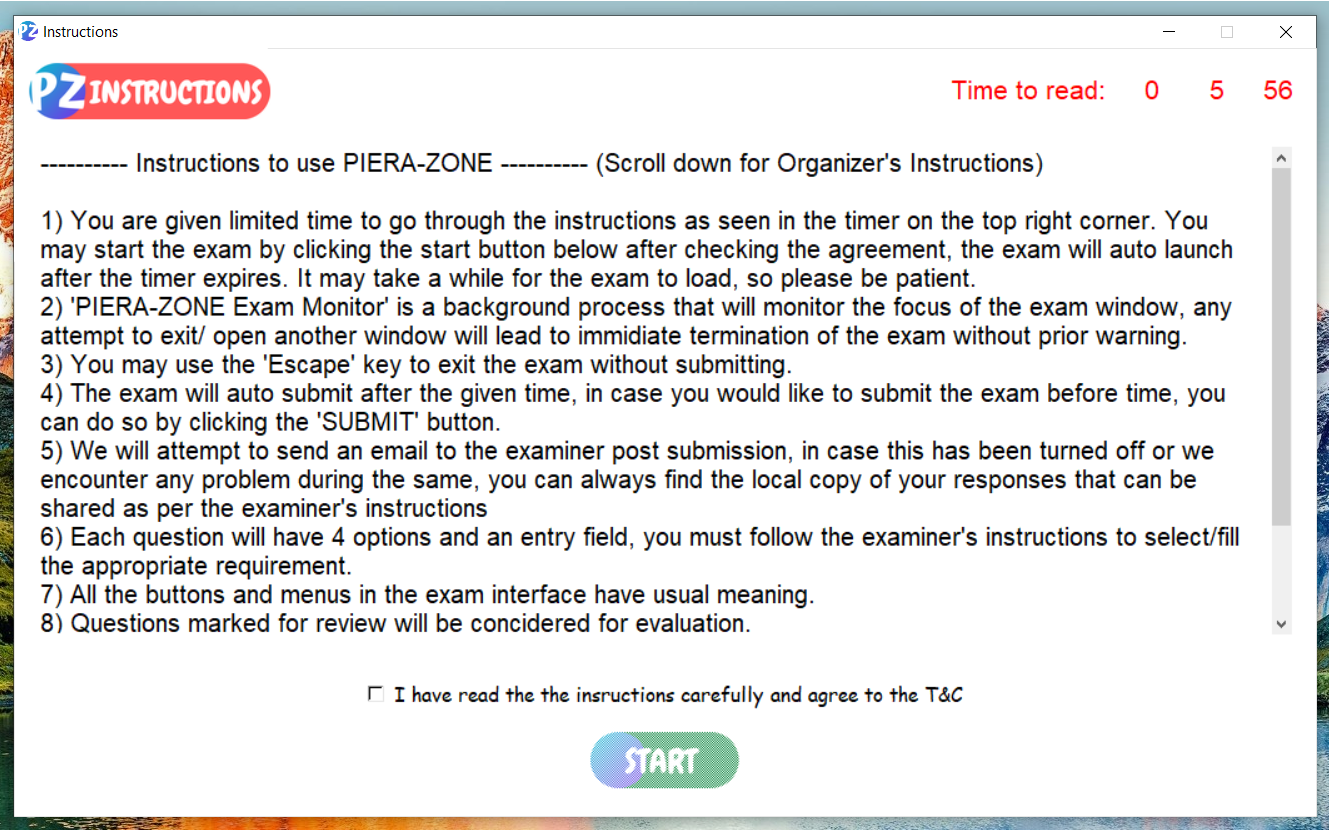
After successfully filling out your basic details, a window containing the instructions for the exam will appear. You will be provided limited time to read as seen in the timer on the top right corner of the window. If you have read the details carefully and wish to continue, check the option for the same and click Start (Exam will auto launch after the timer dies, it will be assumed that you have read the instructions and agreed to the terms).
GIVING AN EXAM
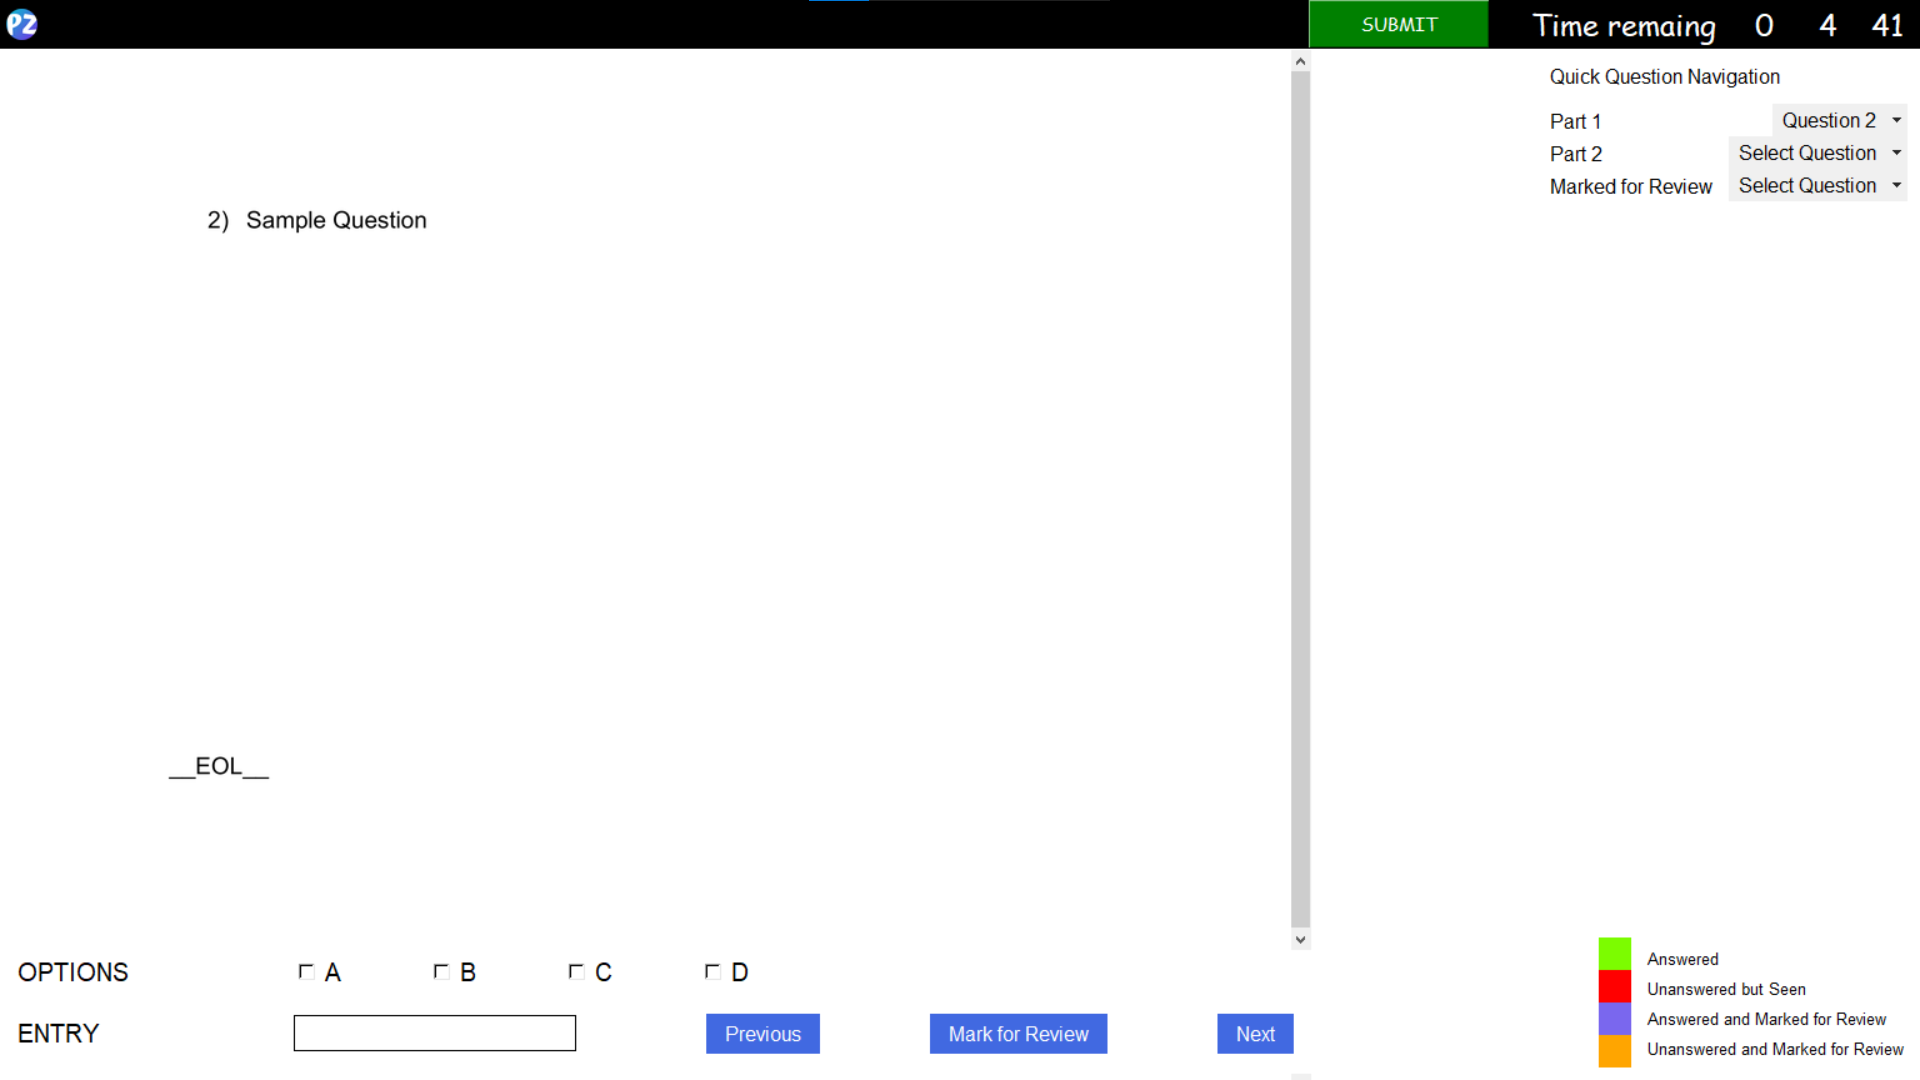
The Exam GUI will open in fullscreen by default, and it needs to remain as such.
-
Answering a question: You will see 4 options proceeding the label
OPTIONSand an entry field proceeding the labelENTRY, please mark/enter the answer as the instructions provided by the examiner. -
Moving to the next/previous question and(or) marking a question for review:
You will find 3 buttons at the bottom of the screen as follows:
-
Previous: Use this button to move to the previous question. -
Mark for Review: Mark a question for review. They will be stacked in theMark for Reviewoption menu, which can be used to get back to them when needed. When clicked the color of the button changes to orange and saysUnmark for review, if you click the button again at this stage the question will be unmarked and removed from theMark for Reviewmenu and revert the color. All the questions marked for review will be considered for evaluation. -
Next: Use this button to move to the next question.
-
-
Quick Navigation Panel: Here you will find option menus, named after the sections, you can use the dropdown to navigate to any of the questions. The color scheme used is displayed at the bottom right corner of the screen, and are as follows:-
RED- Indicates that you have seen the question, but have moved to another one without answering the same. -
ORANGE- Indicates that you have marked the question for review, but have not answered the same. -
GREEN- Indicates that you have marked/entered an answer to the question. -
PURPLE- Indicates that you have marked/entered an answer for the question as well as marked the question for review. -
DEFAULT- Indicates you have not seen the question yet.
The last (bottom most) option menu labeled as
Marked for Reviewwill contain a stack of the questions marked for review by you, use this for quick reference, and to navigate to these questions. -
-
Timer: You will need to complete the exam before the expiry of the timer at the top right corner of the screen.
-
Submitting an exam: The exam will be auto submitted after the expiry of the timer. If you wish to submit the exam before the completion of timer, you may use the
SUBMITbutton on the left of the timer to submit the test. You will be prompted to confirm before submitting. -
PIERA-ZONE Exam Monitor: A background task called “PIERA-ZONE Exam Monitor” will run throughout the exam duration. This will terminate the exam immediately if you perform any of the prohibited actions. Any action that causes change in focus of the exam window is considered as a prohibited action.
-
Quitting an exam: You can quit an exam by performing any prohibited action, but the simplest way would be to use the
Escapekey, followed by confirming the dialogue box which asks for the same.
POST SUBMISSION
After the exam has been submitted either by using the submit button or expiry of the timer, we will try to send an email to the examiner at the email address provided by them during exam creation. But if the internet is disconnected, this feature has been disabled during exam creation or any other reason of failure of the same, you can find a local copy of your responses which can be shared later by any means as instructed. You will find this in the Student Responses folder in the main directory of this program and named after the exam.
WORKAROUNDS
Here are some interesting things that you do with the software, but indirectly.
-
You can take text as an input from the students and have a blank key for evaluation, you can evaluate the exam and then view the student responses and manually edit the key and re-evaluate every individual response before sharing the final result with them. This method will definitely not be able to tabulate the details in the database, or provide cumulative results, but if you have got time and dedication then you can do so.
-
You will find that the results are having a number at the beginning of every file, you can sort the folder by alphabets to bring them in order, you will also find
_<name> Emails_.txtfile along with the PDFs, here the email IDs are in the same order, you can use this to retrieve any email ID if needed for any purpose or maybe modify them if any candidate puts up a request to change the same. -
Students (examinee) can observe that there will be a
__History__folder in theMy Examsfolder. You will find all details of the exams (including the question paper) that you have given earlier, and if you wish to give an exam again, take the.pznxfile of the exam and paste it back into theMy Examsfolder, and you are good to go. You may delete the contents of this folder to free up some space.